#
13-26 Functional Inspection of Emergency Exits
PROCEDURE
Make sure the work can be done safely.
Make sure the parking brake is set.
Turn the start switch to the "START" position.
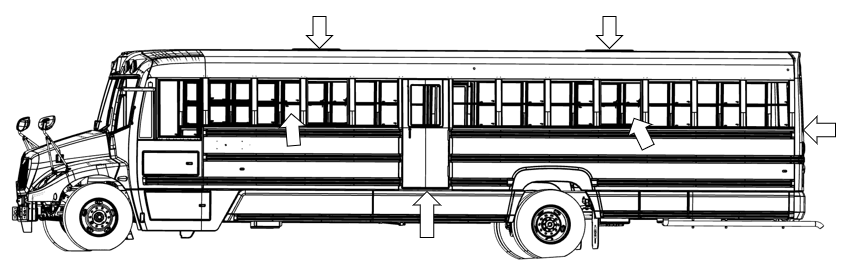
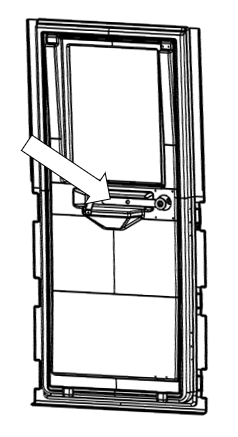
Walk to the rear door.
Make sure the door is unobstructed and lift the red handle (Figure 2).
Keep the handle up and push on the door.
Make sure that the door opens easily and that you hear the audible alarm.
Close the door.
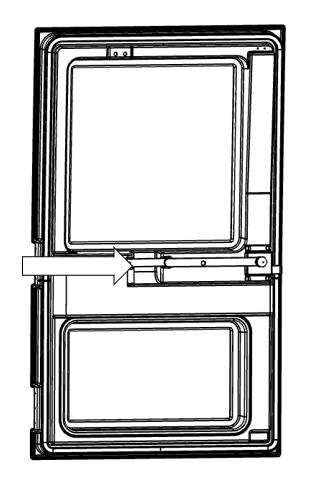
Locate the roof escape hatches (1, 2 or 3, depending on specification).
Locate the red handle and turn it clockwise (Figure 3).
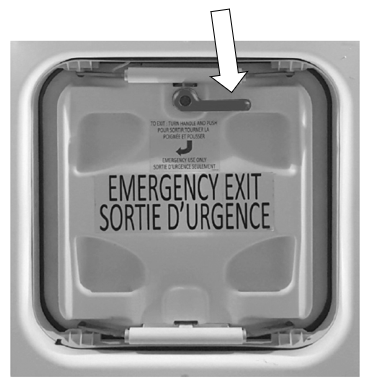
Make sure that the hatch can be opened completely with ease and that you hear the audible alarm.
Close the roof escape hatch and lock it with the red handle.
Repeat for the other hatches, if equipped.
Locate the emergency push-out windows.
On each one, lift the red handle and push the window outwards (Figure 4).
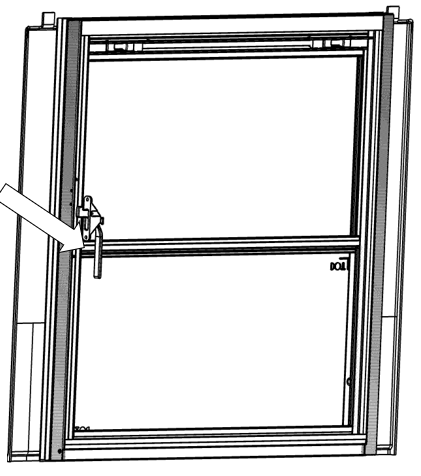
Make sure the emergency push-out windows can be opened with ease and that you hear the audible alarm.
Close the windows and lock them.
Locate the driver-side emergency door (if equipped).
Locate the red handle and lift it before pushing the door outwards (Figure 5).
Make sure that the door can easily be opened, and that you hear the audible alarm.
Close the door. The sound of the audible alarm stops.
Turn the start switch to "OFF".