#
03-12 Chassis body mounts inspection
Make sure the vehicle is parked on a flat level surface, the parking brake is set and wheel chocks are in place.
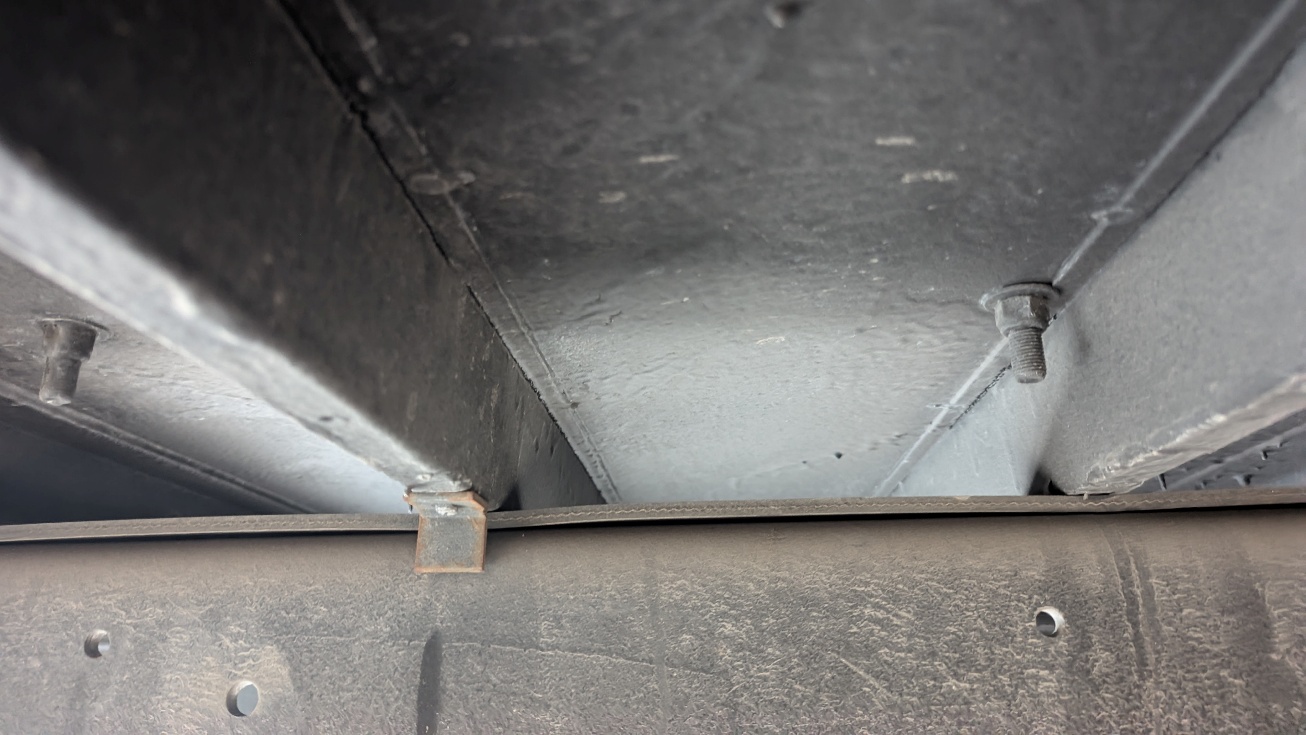
Go under the vehicle and inspect the condition of the chassis side rails and crossmembers. They must not be loose, damaged, bent or heavily rusted (Figure 1).

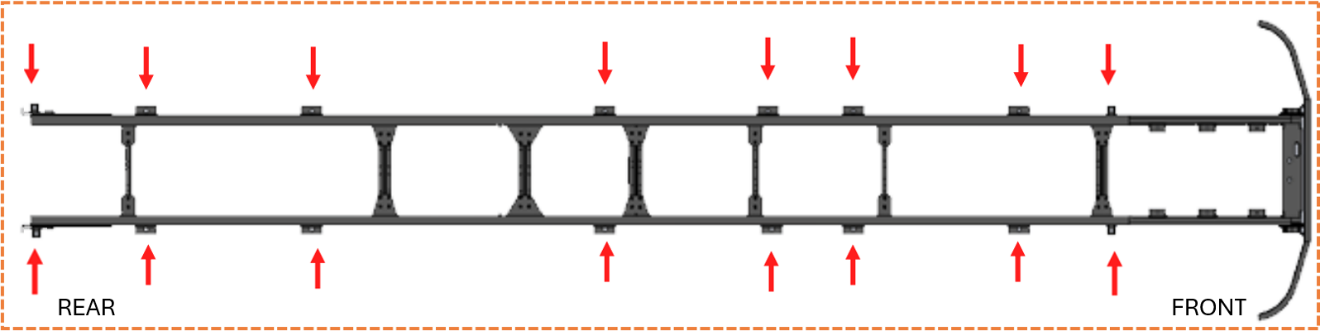
- Make sure that all 16 body mounts are present at their respective location (Figure 2).
- Each body mount is composed of two rubber grommets and various fasteners. The two front mounts have a tension spring.
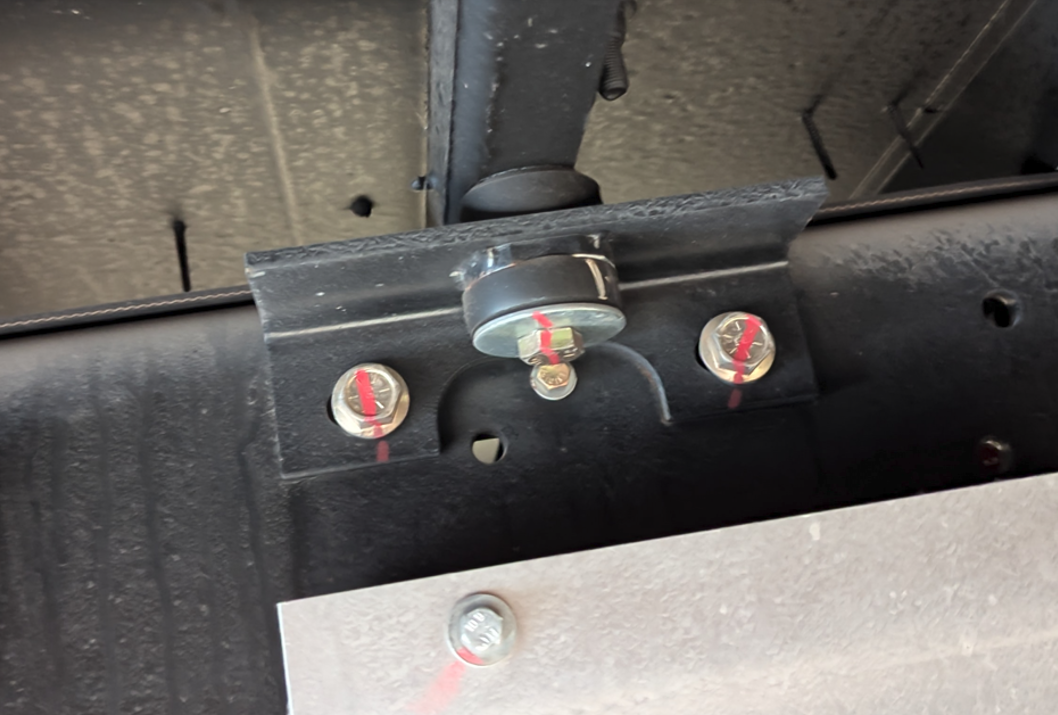
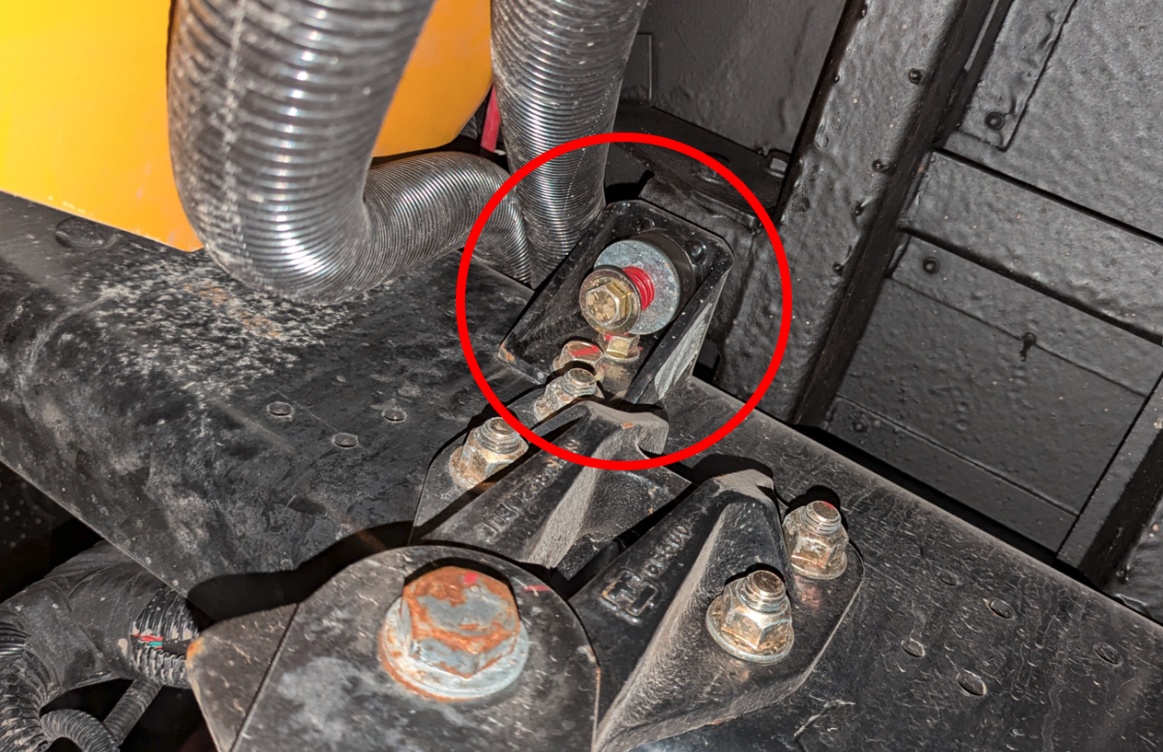
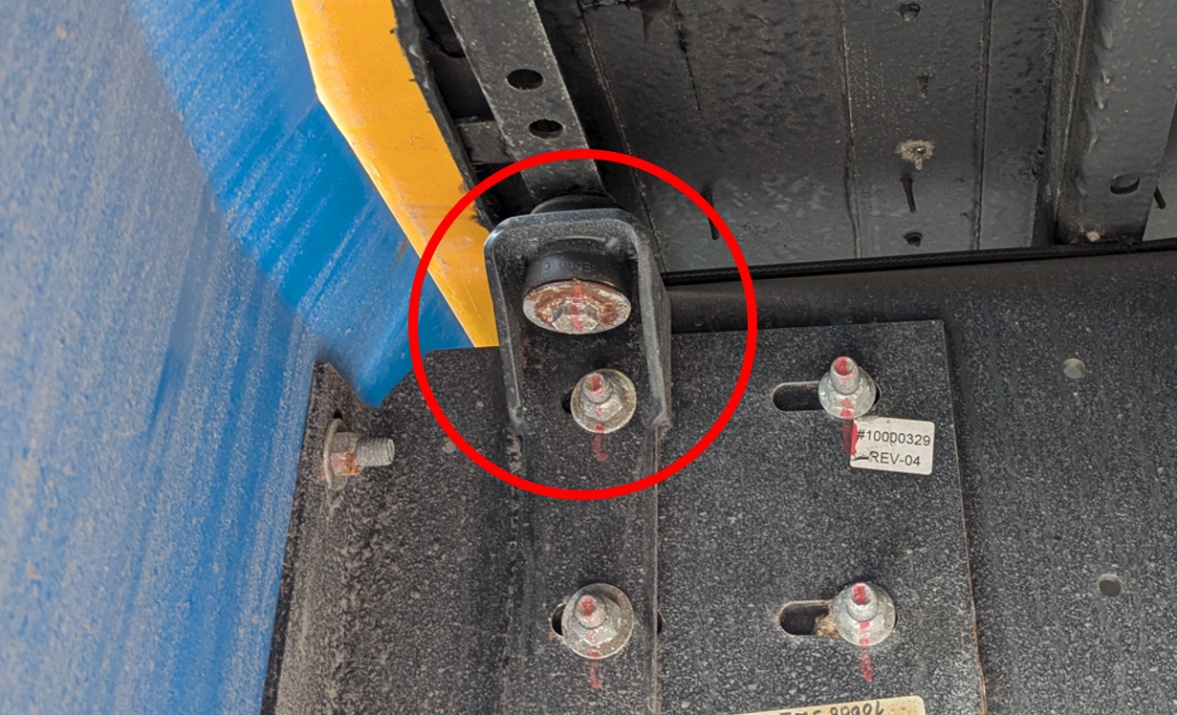
If visible, verify that torque marks are aligned. If not visible, then take note and retorque as per repair procedure.
Check the condition of the rubber strip on top of each frame rail. Several L-brackets help keep the rubber strip in place (Figure 6).