#
03-22 Steering System Retorque
Tools and Consumables
- Combination wrench
- Long nose plier
- Torque wrench 0 – 175 ft-lb (0 – 240 Nm)
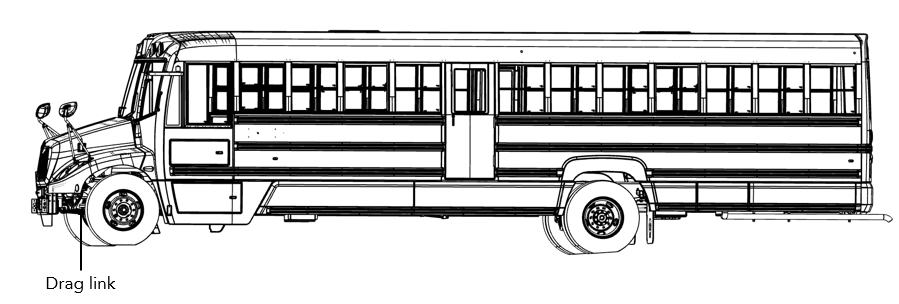
Procedure – Drag Link
All steering system components are critical for the safe operation of the vehicle. Failure to maintain the steering system as specified may result in loss of steering control, which could lead to personal injury and property damage.
- Make sure the work can be done safely.
- Make sure the vehicle is on a flat surface.
- Have someone turn the steering wheel from side to side. At the same time, verify the movement of the ball stud ends on both sides of the drag link (Figure 2).
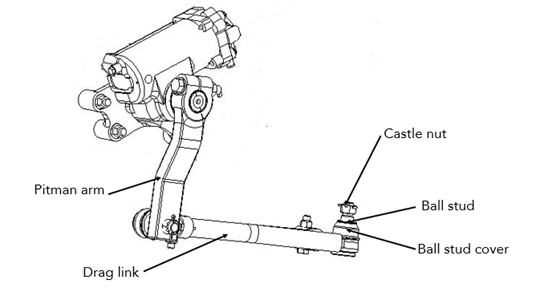
- Verify the ball nut and castle nut for looseness.
- If one of the castle nuts is loose, remove the cotter pin and remove the castle nut.
- Install a new castle nut. Tighten the castle nut to 120 to 170 ft-lb (160 to 230 Nm).
- Install and secure a cutter pin once proper torque is achieved.
Inspect the ball nut covers for cracks, splits, or other damage. If needed, replace the cover.
Grab the drag link near the Pitman arm’s end. Pull and push laterally to check for axial movement in the ball stud’s end. If there is a sign of looseness or if there is a movement of at least 1/8 in. (3 mm), do not drive the vehicle. Replace the drag link as per RP-01-34-00-00-005 Drag Link Replacement.