#
01-01 12V Batteries Functional Test
#
RP-LionC-63-00-02: 12 Volt Batteries Troubleshooting
Make sure the work can be done safely.
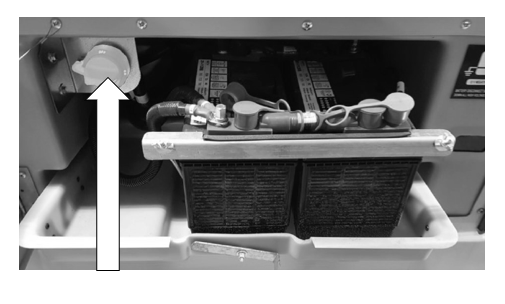
Make sure that the battery disconnect switch is "OFF" (Figure 2).
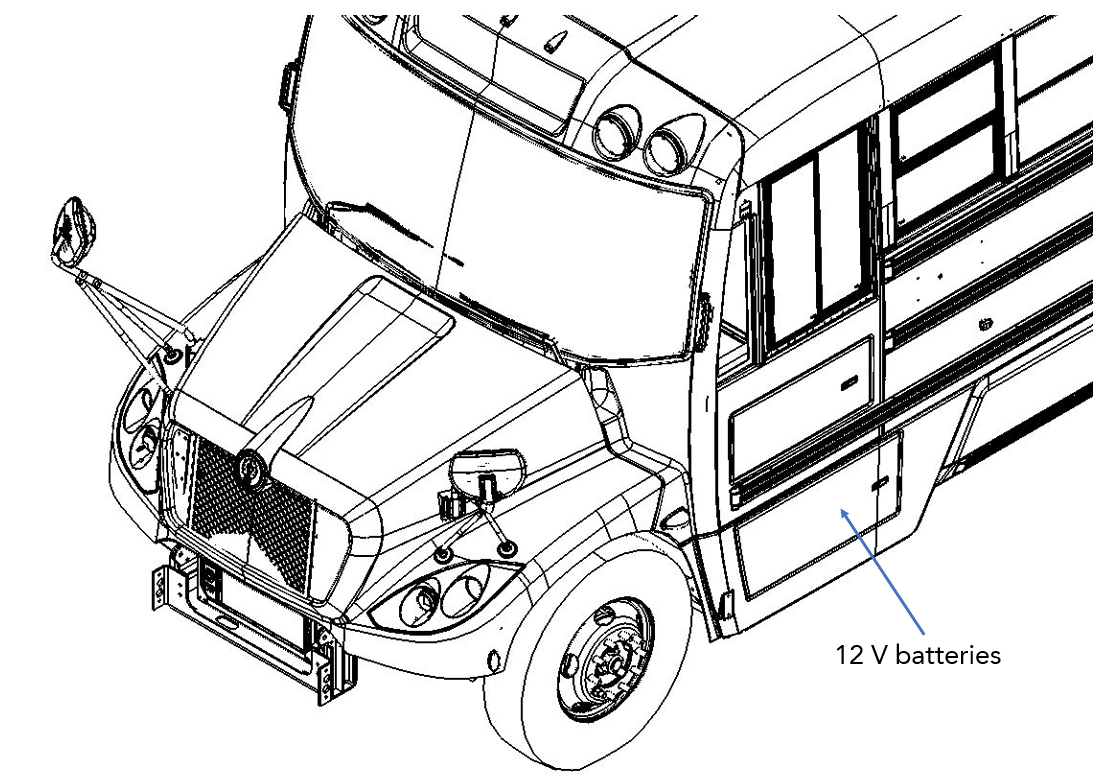
- In the same compartment, locate the 12V batteries (Figure 3).
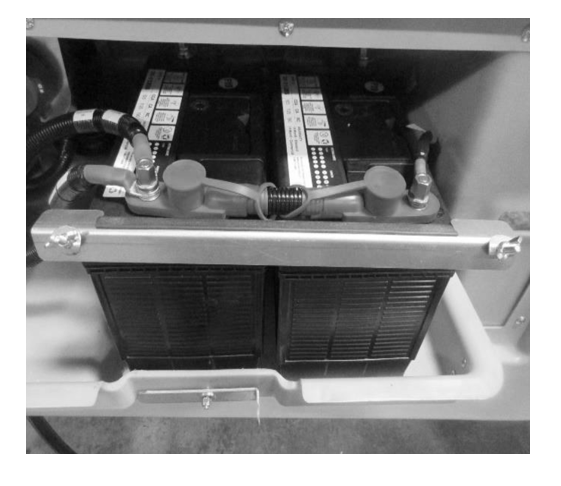
Perform a visual inspection of the batteries to make sure there is no sign of leakage or damage.
If there are signs of leakage or damage on one of the batteries, it will have to be replaced.
Disconnect the negative cables from the batteries.
Secure the negative cables, making sure they can’t touch the positive terminals.
Disconnect the positive cables.
Dissemble all the connections between the two batteries. The test must be done when the batteries are not connected to each other.
Clean the terminals with a metallic brush and a solution of sodium bicarbonate and water. Clean all residues.
Connect the positive (red) lead of the tester on the positive terminal of the batterie and the negative one (black) to the negative terminal.
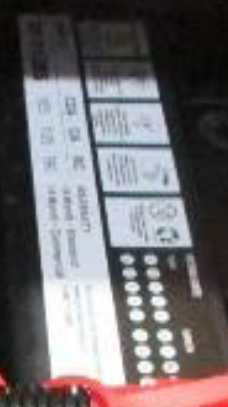
Compare the reading on the tester with the label of the batterie.
Make sure the battery does not drop below 9.6V while performing the load test.
If the battery is not within limits, replace the battery as per the RP-LionC-63-00-01 12 Volts Batterie Replacement.